1/2 Thumb Fit: Who’s it for and How’s it Done?
Scott PohlMany issues found in a bowler's physical game can be traced back to their bowling ball fit. If your grip isn’t just right you will squeeze the bowling ball excessively or hang on to it too long, feeling like you can’t get the thumb out of the bowling ball.
Either way, your arm swing and release are adversely affected. In this premium video, Scott Pohl, owner of On Track Pro Shop, explains who the 1/2 thumb fit is for and how its layout looks on a bowling ball.
Who’s It For?
The 1/2 thumb fit isn’t for everybody. In fact, a small number of bowlers use it. If you have trouble clearing the thumb during the release and/or have a thumb injury, you should consider trying this layout. The 1/2 thumb fit alleviates the strain created from the weight of the bowling ball on the thumb.
Fit
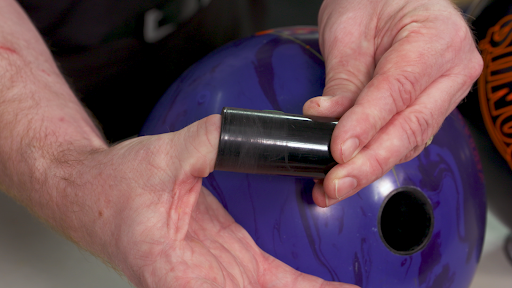
Start by measuring the thumbhole. Take the measurement with 1/2 the thumb inserted.
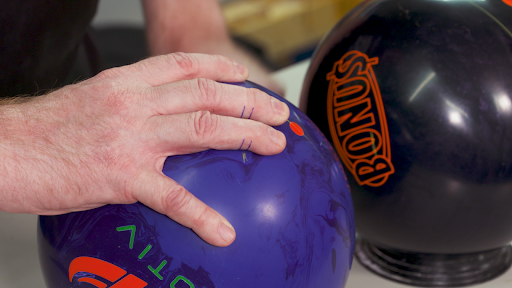
Work with a bowling ball that has a thumb hole and doesn’t have finger holes drilled in it. With your thumb inserted, stretch your fingers up to where the finger holes should be. Mark a quarter of an inch below each finger knuckle. This gives you your total span.
Bisecting the lines will give you the center of your grip.
Account for the center of the bridge and mark each finger. In general the ring to the middle finger will be between 3/16 - 3/8 in. difference.
Layout
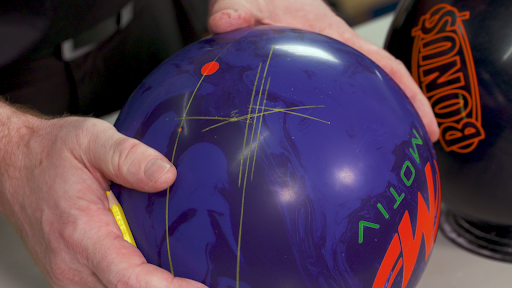
The measurement between the center line and the drill line is 1⅝ in.
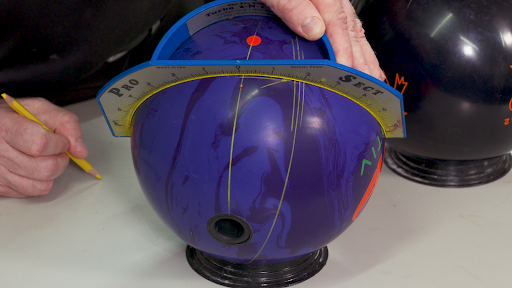
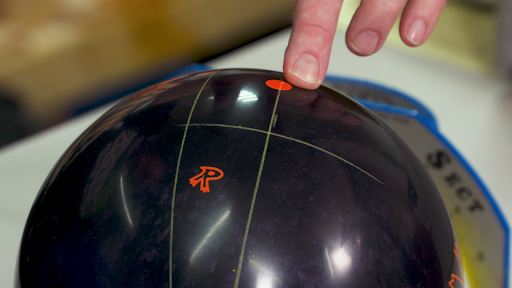
When drilling for the 1/2 thumb fit, you want your fingers underneath the pin location.
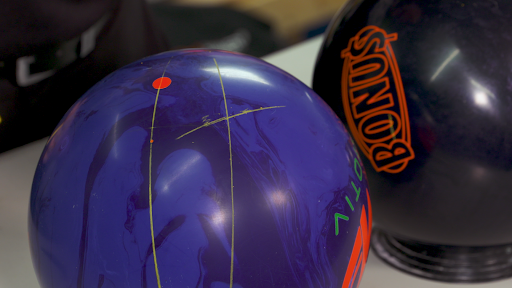
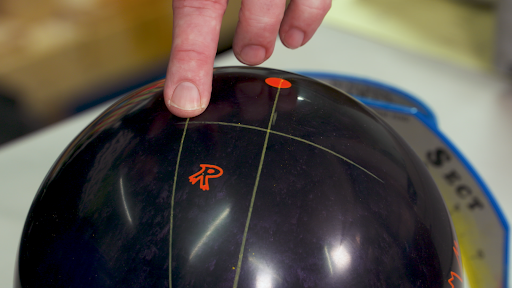
On your new bowling ball, draw a line down from the pin. This is the new center line.
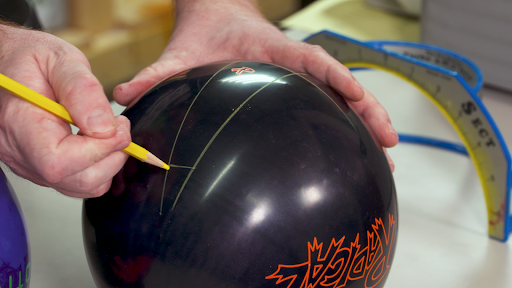
Measure 1⅝ in. over for your new drill line.
Then take your span measurement and mark the thumb on the new drill line.
Thumb pitch is generally forward for this fit, the drill angle is left for a right handed bowler. For the fingers it is recommended to start with 1/2 left for the left finger and 1/2 right for the right finger with 0º pitch to start.
Bowling is not supposed to hurt. If you're dealing with a thumb injury, try drilling a bowling ball with this fit. You’ll notice a difference right away.
Check out “Grip Control Exercise” and “Wrist Strengthening Exercises” to help better your game off the lanes.
