Watching a bowling ball hook into the pocket and knock all 10 pins back into the pit is what it’s all about.
Experienced bowlers make it look effortless, and in a lot of ways, it is. The more you try to make the ball hook, the less it will.
Learning how to throw a hook properly will increase your average and make the sport more enjoyable.
Putting Your Hand Into the Ball
How you put your hand into the bowling ball dictates how you will release it at the foul line.
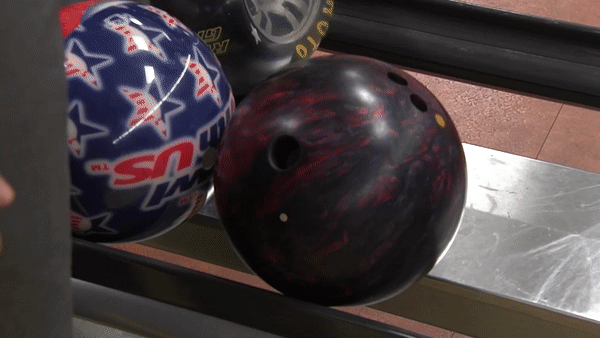
When it’s your turn to bowl, grab your bowling ball with both hands when you take it off of the ball return.
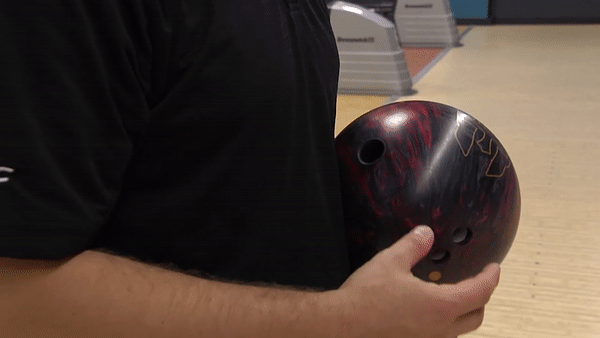
After you’ve positioned yourself on the approach, it’s time to get your hand into the ball.
Put your fingers into the ball and roll the ball onto your thumb.
Doing this will allow your hand to be in a consistent relaxed state, aiding in the development of consistent shots.
In order to throw a good hook, you need to limit grip pressure (squeezing).
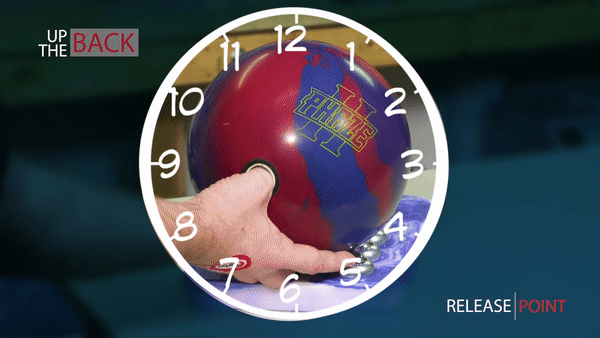
Release
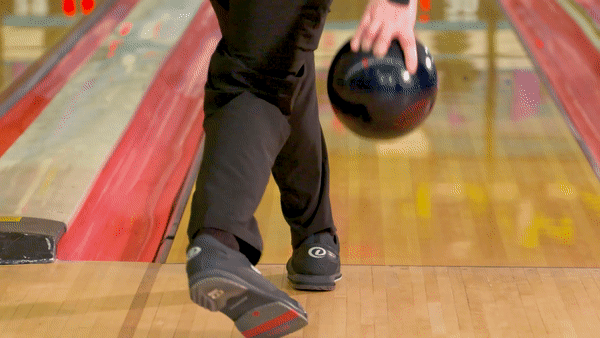
When you get to the foul line, you want the bowling ball to release off the front of your hand.
You want to take your hand through the ball, not around it.
The thumb should stay around the 12 to 2 o’clock position throughout your shot.
So this means the fingers are doing the work. You’ll want to release the bowling ball with your fingers underneath the equator for the most leverage possible.
Let the ball turn your hand, not the other way around.
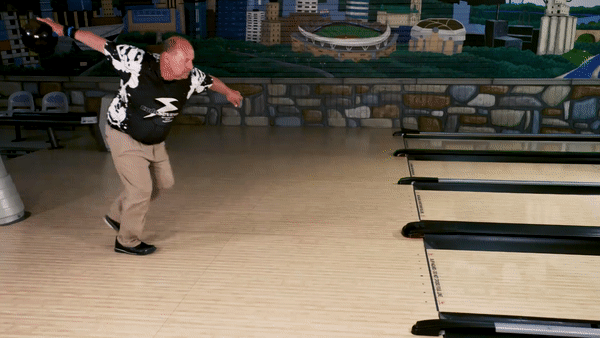
Finish Position
Stability and balance at the foul line is crucial for targeting.
If you fall off the shot, your eyes will shift from your target because your body naturally wants to avoid falling onto the ground.
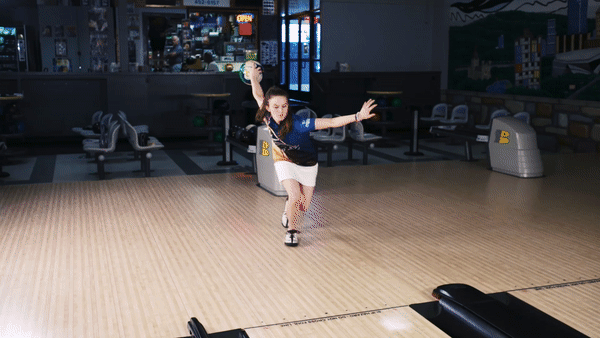
A good finish position includes:
- • The bowling shoulder should be lower than the non-bowling shoulder.
- • Your slide foot and slide knee are pointing toward the target.
- • Your hips need to be open and in the direction of the target to allow enough room for the swing.
- • Before you release the ball, your hips should close slightly.
- • Your trailing leg, toes, and heel need to be parallel to the approach. The toes will face the pins, the heel faces the wall, and both are as close as possible to being parallel to the floor.
- • The non-bowling arm should be slightly forward (towards the pins). As the swing comes down, the opposite arm should move to the side to counteract the swing.
- • The bowling ball should be as close to your slide foot as possible during the release.
- • The follow-through is the arm’s extension toward the pins, and it should go in the direction of the target path (where you are aiming).
While this article aims to cover beginner aspects of the release, the steps in between your stance to your finish position also matter.
Timing, tempo, and posture dictate ball speed as well as hook potential.
Check out these videos for more expert instruction:
Establish a Straight Arm Swing with the Ball Start Drill
Timing and Release: Early, Good, and Late
Bowling Technique and Tempo
How to Develop a Straight Arm Swing

This is a really good explained guide to a proper release.
Good pointers.Thanks
I’m looking for a good bowling ball, I have the Ebonite Stinger, I am stuck at a 174 average,