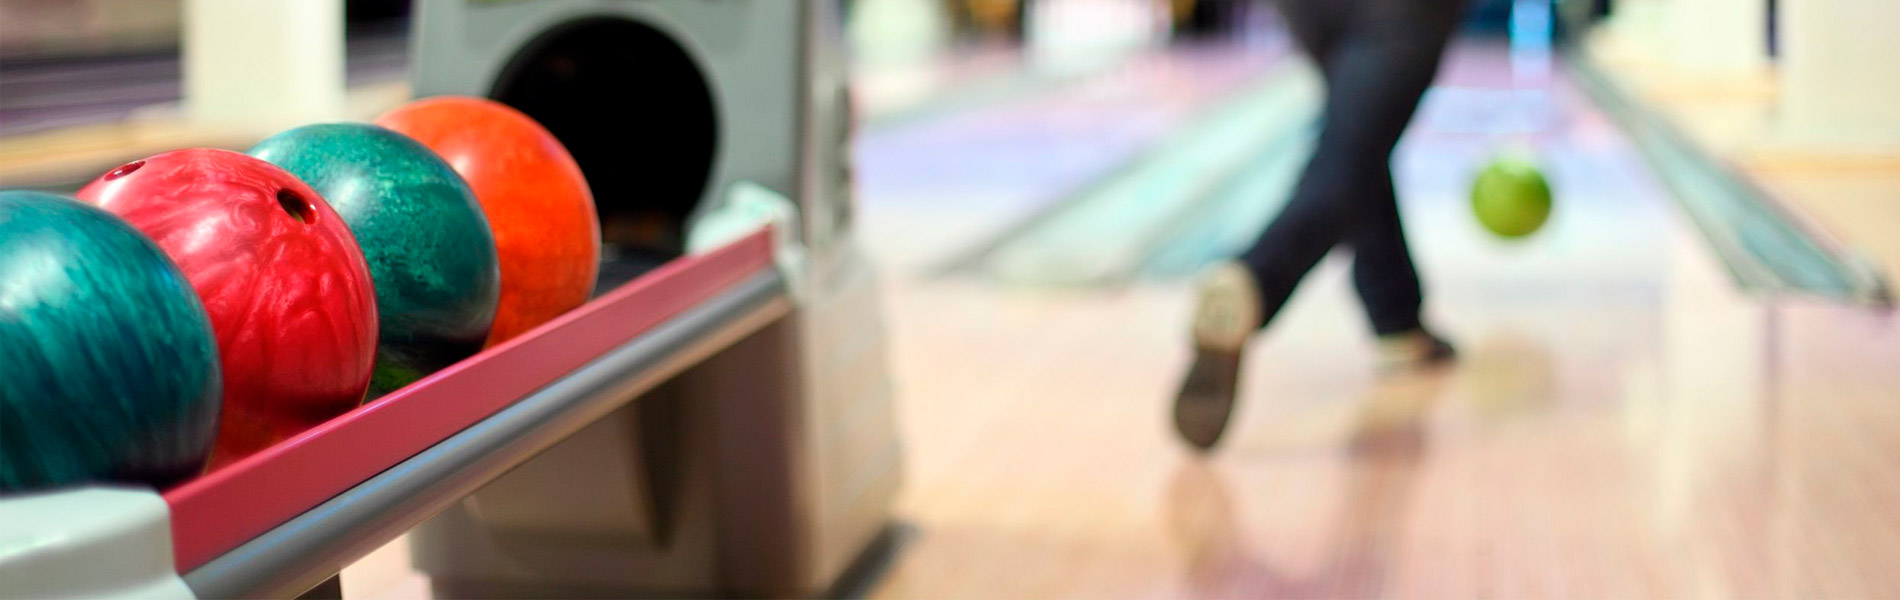
Are your finger inserts worn out? How old is that piece of thumb tape in your bowling ball? Is your bowling ball not hooking like it once did? These are common issues all bowlers face. Coach Erik Vermilyea with Track provides three quick tips to help get your equipment performing at its best.

Replacing Finger Inserts
If you’ve ever heard that bowling ball finger inserts do not wear out, it’s simply not true. Coach Vermilyea recommends six months or 60 games as a simple way to schedule a replacement of your bowling ball finger inserts. If you are a bowler that does not bowl 60 games in six months, replace them once a year to get the best performance out of your bowling ball.
If you’d like to learn more on the subject, check out Using Grips and Inserts in a Bowling Ball.
Replacing Thumb Tape
It’s always good to have a piece of bowling thumb tape in your thumbhole. You can always add one more if need be to tighten your grip or remove it altogether to loosen it. Whichever way you decide to go, the goal is to reduce grip pressure.
In this quick tip, Coach Erik Vermilyea with Track demonstrates how to properly insert bowling thumb tape. After removing the tape from the strip, you’ll notice that there are both around and a flat side on the bowling thumb tape. Generally, the round side of the white bowling thumb tape inserts into the thumb hole.
Next, use a tape insertion tool, small screwdriver, or a knife to insert bowling thumb tape. When you insert bowling thumb tape, insert it at a 45° angle. This is an important step for both novices and pros alike. Your thumb does not squeeze straight towards the finger holes. Your thumb sits in the ball around 45°, so it’s important to match the angle of tape to the angle of your thumb, not just insert it at a 90° angle (straight on). Finally, when you put your thumb in the ball, look at the way your thumb flexes. Make sure the pad of the tape matches the pad of your thumb. It should fit flush on both pads.
Sanding your bowling ball
A brand-new bowling ball comes out of the box with a surface setting designated by the manufacturer. Rarely has a professional bowler ever competed with a brand new out-of-the-box ball without adjusting its surface, posing the question, why would you? Learning to adjust a bowling ball’s surface with sanding discs is a simple process. In this quick tip Coach Erik Vermilyea with Track demonstrates how.
The lower the number grit sanding disc you choose, the earlier the ball will hook and vice versa, the higher the number grit sand disc you choose the later the ball will hook. If you’re unsure of which one to choose, National Bowling Academy has a great demonstration of the effects each grit has on a bowling ball’s motion, Making Adjustments to the Surface of your Bowling Equipment. (Skip right to the surface test at 1:30).
Next, you’ll take your bowling ball and place it on a ball cup or another sanding disc and begin resurfacing the ball. In a circular motion, start sanding the ball. The goal is to apply the sanding disc evenly throughout the entirety of the ball, it’s a rule, actually. Another rule is that sanding a bowling ball can only be done before competition.
Next, grab a dry towel and remove the excess dust from the bowling ball. If you’re concerned that you’ll never get the bowling ball back to the way it was when it came out of the box, don’t be. You can get it back to the original surface. This leaves you with the task at hand, matching up to what the lane gives you.
Share tips, start a discussion or ask other students a question. If you have a question for an expert, please click here.
Already a member? Sign in
No Responses to “3 Quick Tips on Bowling Ball Maintenance”