Pin Placement on the Bowling Ball
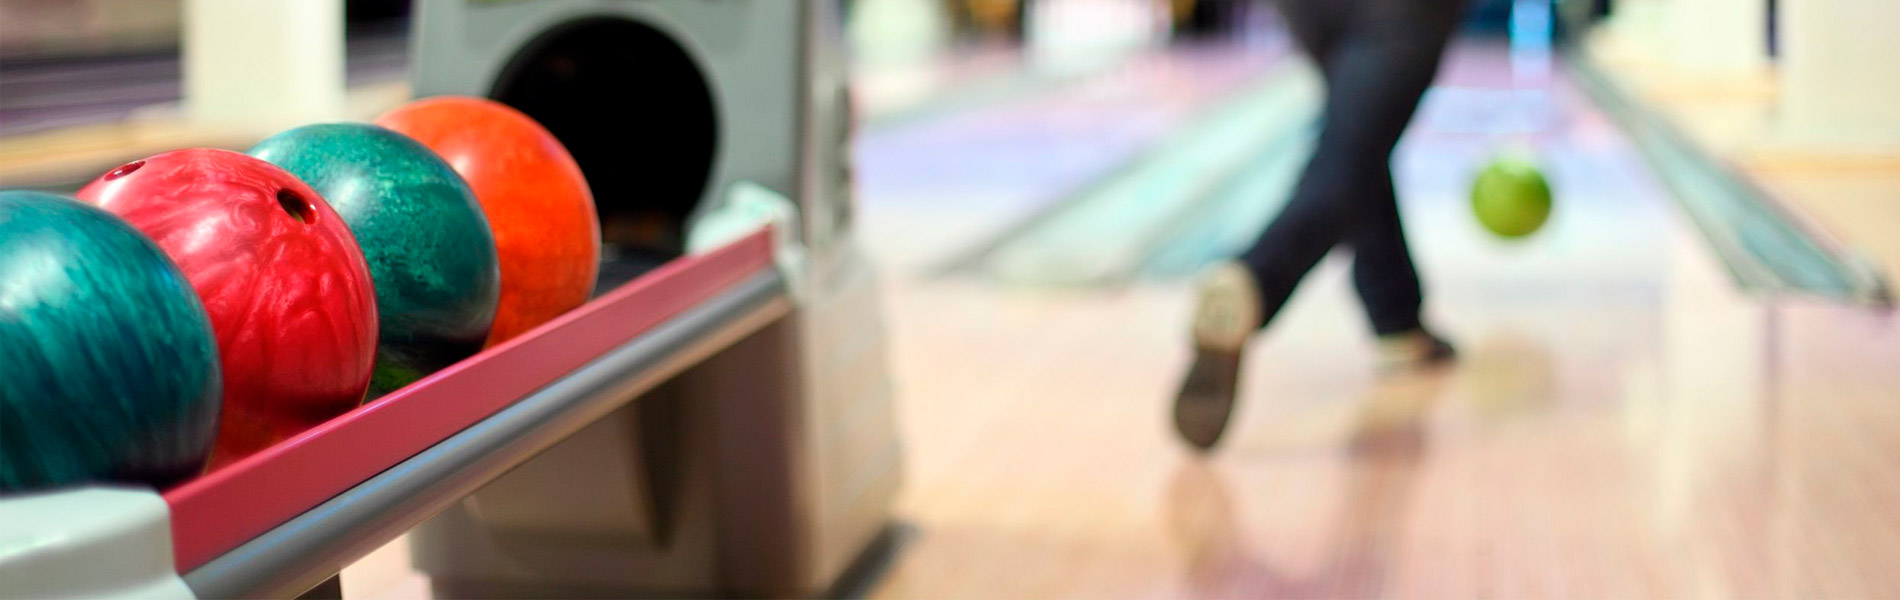
Scott PohlAlthough 75% of a bowling ball’s reaction comes from having the proper surface applied to its coverstock, the lane conditions you are competing on require matching up with the correct bowling ball, bowling ball surface, axis tilt, axis rotation, and bowling ball speed.
In this premium video, Scott Pohl, owner of On Track Pro Shop, explains how pin placement creates the overall hook and flare potential when laying out a bowling ball.
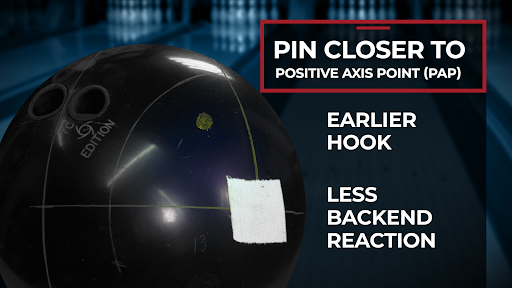
Pin Closer to the PAP (Positive Axis Point)
The PAP is identified below with the white piece of tape. The pin is illustrated with the yellow circle drawn on the bowling ball. This pin placement creates an earlier hook with less backend reaction. This layout is ideal for higher volume oil patterns.
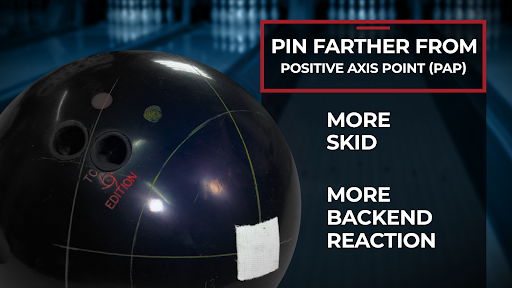
Pin Farther From PAP (Positive Axis Point)
This pin placement creates more skid and more backend reaction. This layout is ideal for lower volume oil patterns. It’s also good when the lanes transition and become drier.
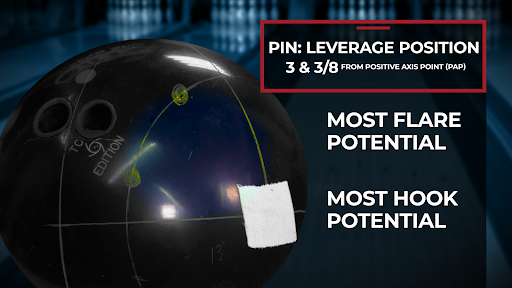
Pin Leverage Position
Both yellow circles below represent pin placement 3 ⅜ away from the PAP. The number on the X axis can range from 0 to 6 ¾ inches. At 3 ⅜ inches, the most flare and hook potential is created.
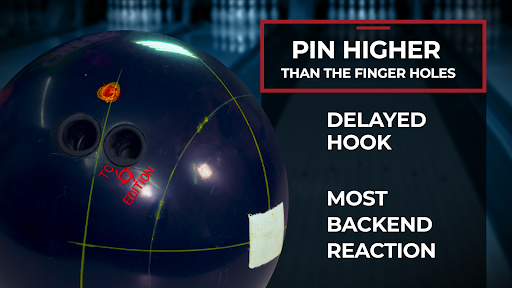
Pin Higher Than the Finger Holes
This pin placement delays the hook, providing a strong backend reaction. This is a good layout for lane transition and lower oil volume patterns.
Pin Lower Than the Finger Holes
This layout is good for lower volume patterns and can be used as a ball to change out to when the lanes transition.

For more on bowling balls, check out How Do I Put Surface On My Bowling Ball and Sanding Pad Technology.